Destination information are items added to an itinerary and are not associated with a specific supplier. They provide a free-text area to add information and do not correlate to a particular supplier in your Tourwriter database.
Adding destination information
When you choose to add a destination information to an itinerary, there are five options available: Directions, Free time, Overview, Explore and Information. To add a destination information:
- Select the itinerary from the Itinerary list and move to the Build tab.
- Navigate to a date in the itinerary and click the + sign.
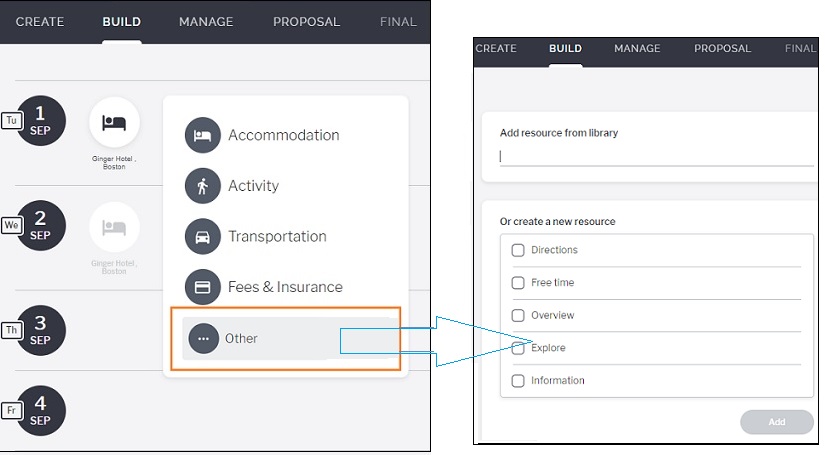
- Select Other that appears along with the four main product types.
- Choose one or more options among Directions, Free time, Overview, Explore or Information.
- You can increase the quantity using the + button.
- Click Add.
Note: Based on your selection, you’ll see one or more windows to add information for each destination information.
- Choose an appropriate title based on the destination information.
- You may continue to fill out the optional fields, viz: From, To, Start time, End time and Description.
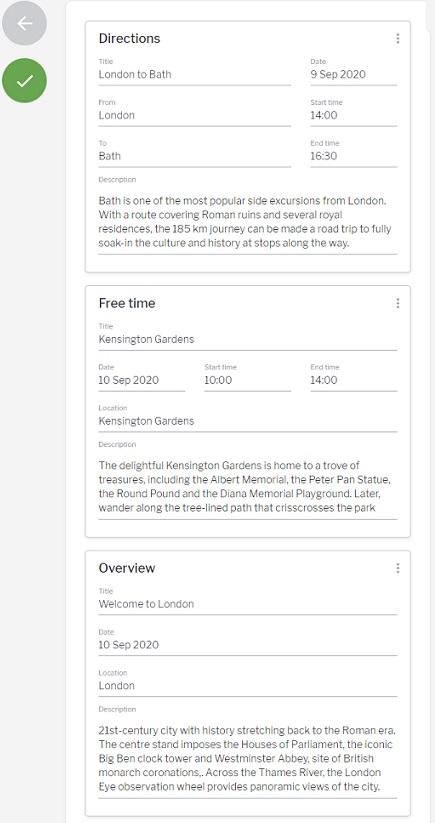
Note: Only Directions has a From and a To field to enter the source and destination locations. The other destination information items let you add a single location.
Directions
Directions are used to provide driving information from location A to B.
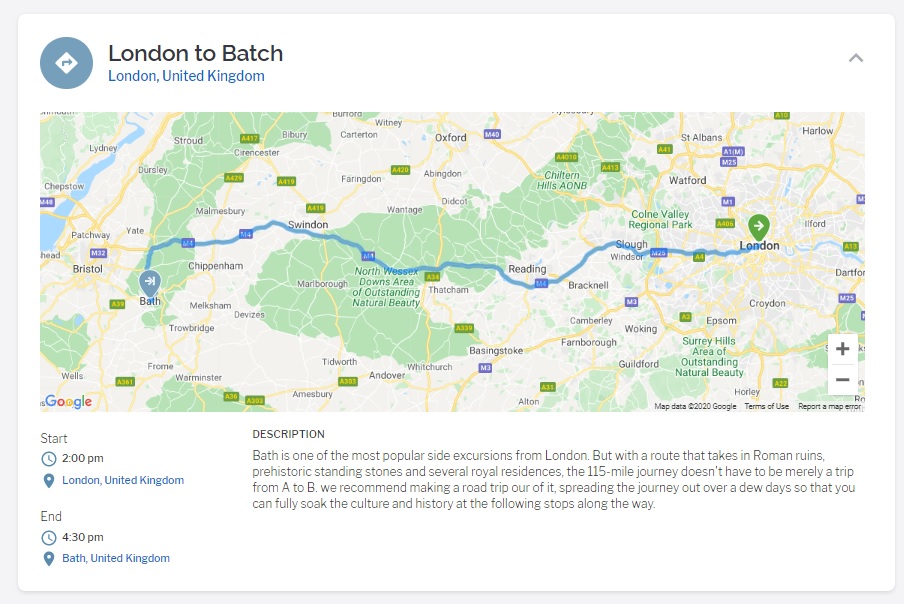
- The From and To fields are mapped to Google maps that pinpoint the start and end locations.
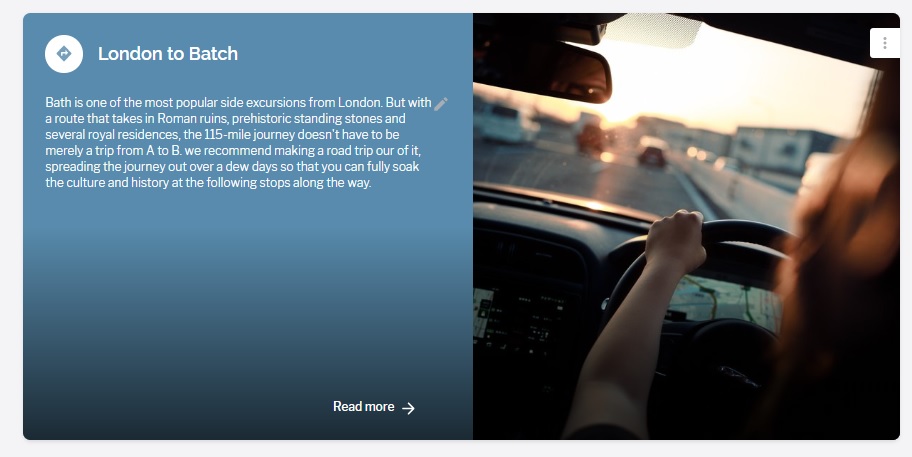
Directions on Proposal
- A Directions view on the itinerary Proposal is different to that on itinerary Final.
- The Proposal displays the image from the Media Library along with the Description text.
Directions on Final
- The Final view displays the source and destination points on the map instead of the Media image.
- A map displays only when you populate the To and From fields. Else, you will see the day card where you can add your image.
Free time
You may want to suggest some activities that your travellers can take up on their own. Free Time lets you do just that. You can insert a trip overview or guidelines when visiting the place.
- You may enter information in the optional Free time fields as shown below.
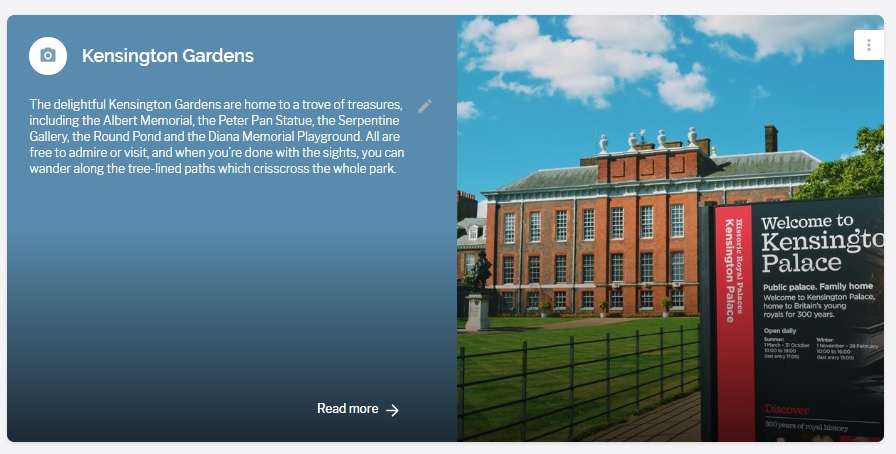
Free time on Proposal
- The itinerary Proposal displays the Free time description added during itinerary building on the day card.
- If the Free time text overflows, click Read more to access the rest of the text.
Free time on Final
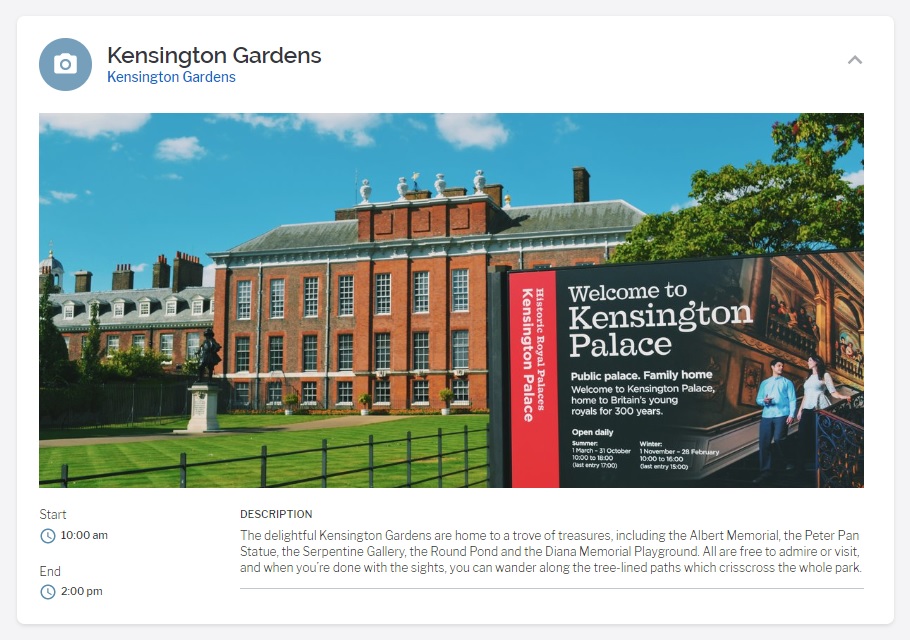
- The itinerary Final displays the entire Description text on the card by adjusting the size of the card.
- You will also see the start and the end time on the Final card.
Overview
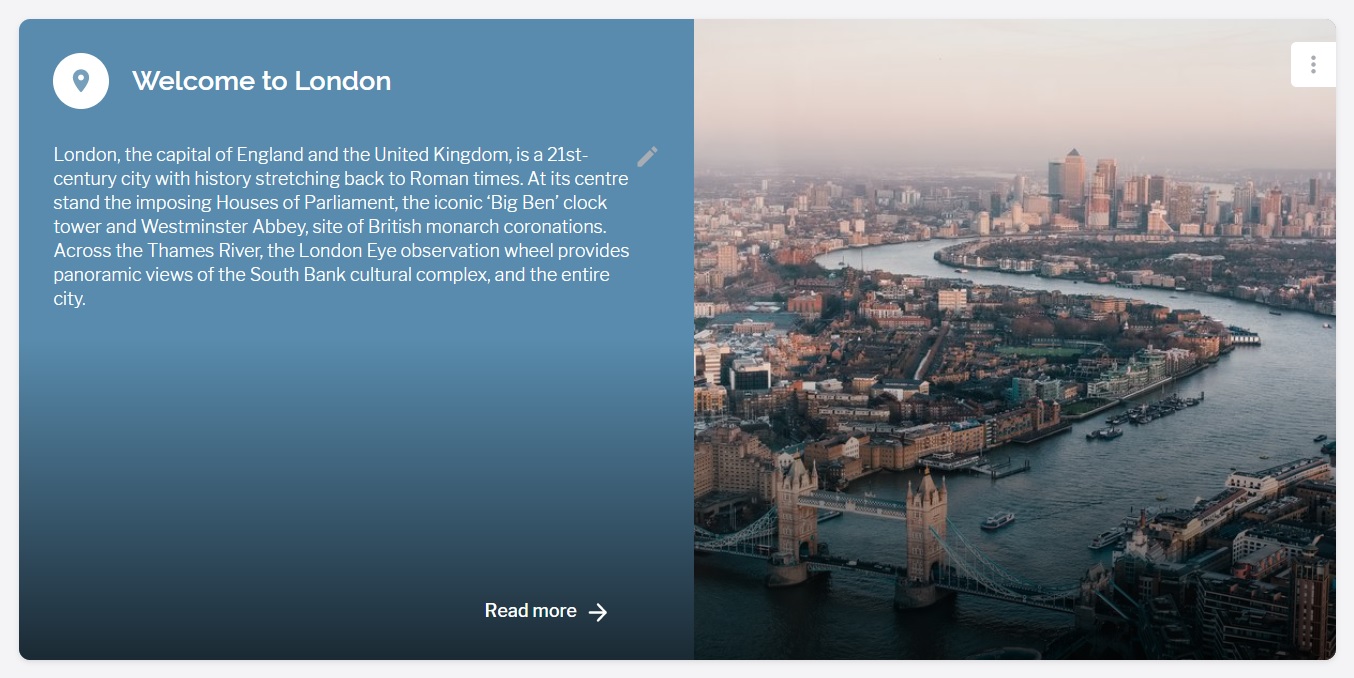
You can add a trip overview to describe it in detail. The overview could include a description of a place, packing recommendation, or information about events or key contacts.
Overview on Proposal
- The itinerary Proposal displays the Overview description added during itinerary building on the day card.
- If the Overview text on the itinerary Proposal overflows, click Read more to access the rest of the text.
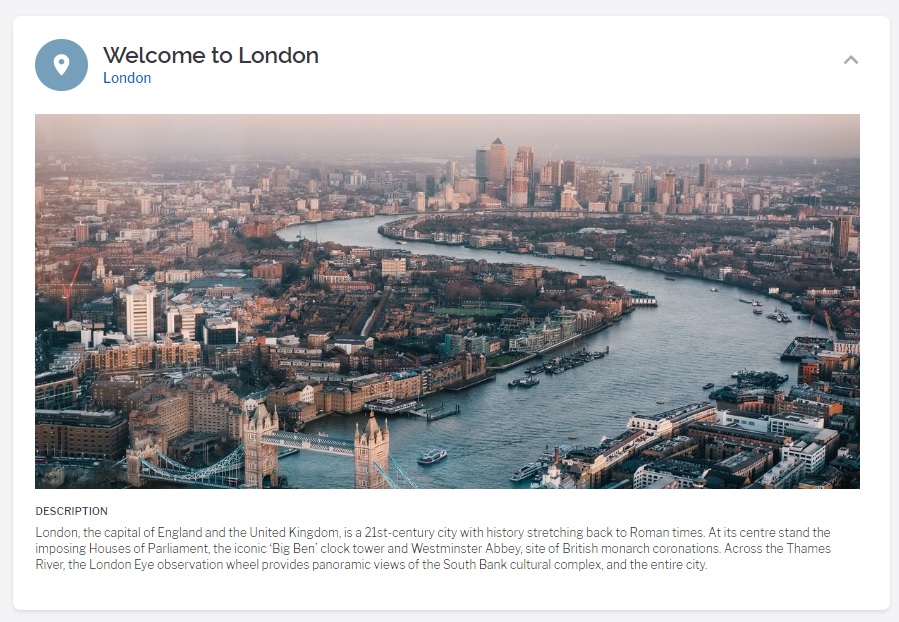
Overview on Final
- The itinerary Final displays the Overview Description text on the card by adjusting the size of the card.
Explore
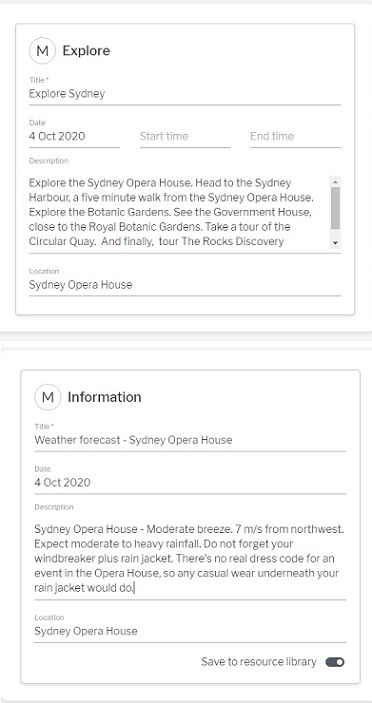
An Explore item lets you explore a location. The item could include a note for a visitor to visit a tourist attraction or include information about a nature walk.
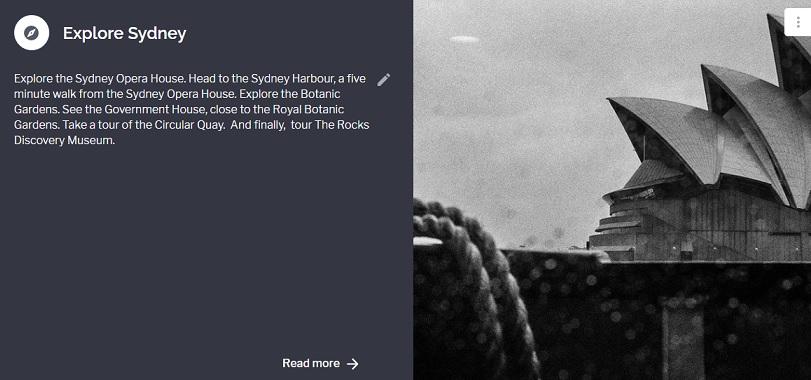
Explore on Proposal
- The itinerary Proposal displays the Explore description added during itinerary building on the day card.
- If the Explore text on the itinerary Proposal overflows, click Read more to access the rest of the text.
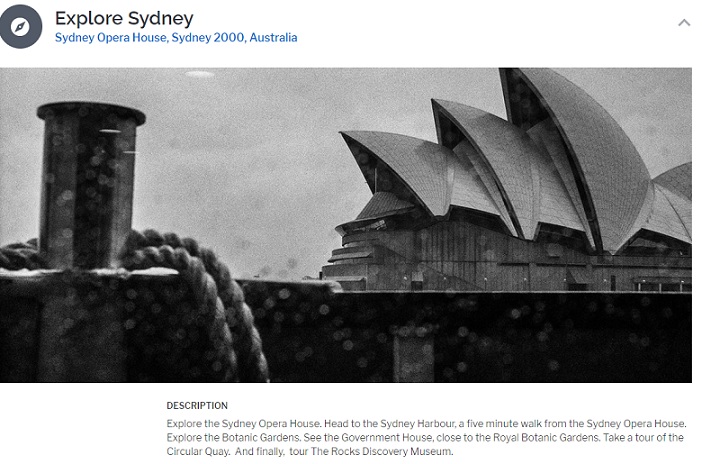
Explore on Final
- The itinerary Final displays the Explore Description text on the card by adjusting the size of the card.
Information
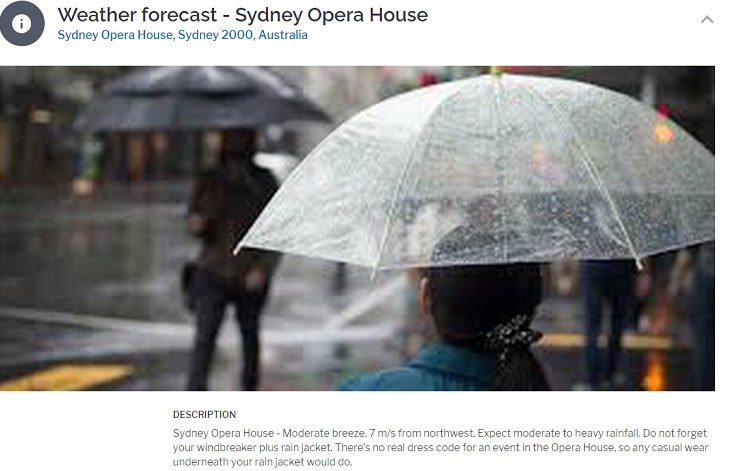
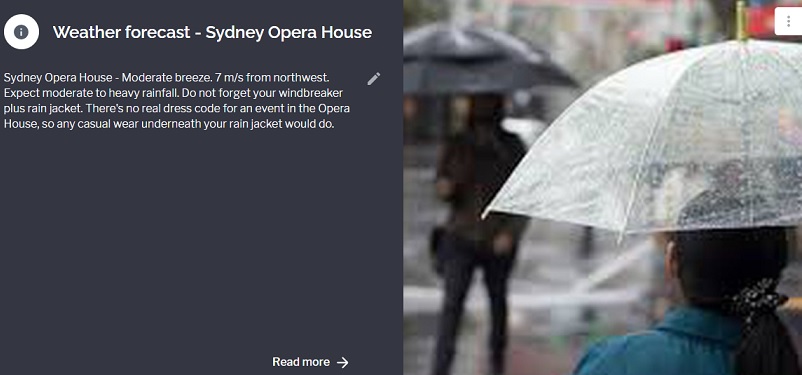
You can add information about a trip to describe it in detail. The information could include a description of a place, the weather forecast for the day of the visit, the things you should pack and so on.
Information on Proposal
- The itinerary Proposal displays the Information description added during itinerary building on the day card.
- If the Information text on the itinerary Proposal overflows, click Read more to access the rest of the text.
Information on Final
- The itinerary Final displays the Information Description text on the card by adjusting the size of the card.
