With Tourwriter you can customise your itinerary footer any way you like. Alterations made to the footer on an Itinerary Proposal will extend to the Final Itinerary.
Branding – adding your organisation’s logo
At the bottom of the page, you can add your organisation’s logo.
- Click the image icon to choose an image from the Media library.
- The images that you upload will automatically be cropped to appear as the logo.
- Delete a logo by clicking the trash icon.
Note: Branding is currently unique to each proposal that you publish. To add your organisation’s logo, refer to Adding a logo to your proposal.
Co-branding
If you’re working with another agent, you can co-brand your itinerary with their logo by following the same steps above for adding your organisation’s logo.
Note: The ability to add and delete images is only available to you, the agent. The traveller will not be able to edit or change the Hero images, terms & conditions or branding.
To edit your Terms & Conditions
- Click the Edit icon on the Terms and conditions label under Payment at the bottom of the page.
- On the Terms & conditions page, click the edit icon.
- Replace the default Terms & conditions text with your own.
- Once you have finished editing, click outside of the text box, and your edits will be saved.

Adding new footer fields
You can now set your default footer fields in your Profile settings. The standard footer fields include the user’s Email and Phone. To add a new field to the footer:
- Navigate to your profile settings by choosing Profile in the top-right corner of the navigation bar.
- Switch to the Footer Setup sub tab.
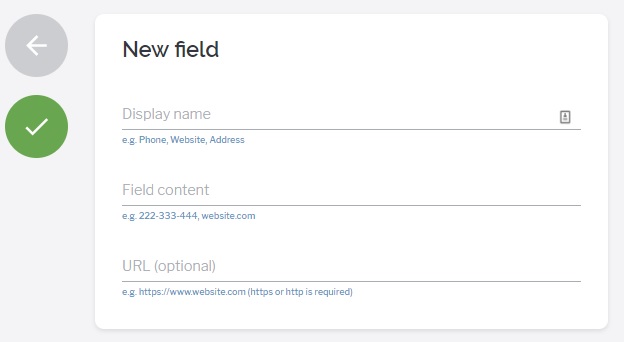
- Click Add field to open the New field popup.
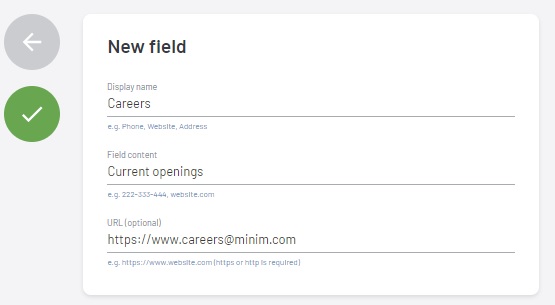
- Fill in the field’s Display name, the Field content and an optional URL.
Note: You can edit, duplicate or delete the existing default footer fields through the Options menu at the end of the row.

Tip: You should add new fields that best represent your business. Take a look at the example below.

Organising the itinerary footer
You can still manage footer fields on your itinerary proposal or final. Once you add the new footer fields on the footer setup of your profile, itinerary proposal or itinerary final, you can perform the following functions on them:
- Rearrange: Click and hold to drag a field
- Modify: Click the three dots to manage a field. You can Edit the field, Duplicate it or Delete it as highlighted in the screenshot.

Accepting itineraries terms and conditions
Travellers can now accept terms and conditions and when they do that, itinerary creators will be sent a notification. Once an itinerary is privately shared with a traveller, they see an acceptance tick on the terms and conditions area. Once the traveller accepts it, the creator gets an email notification.
